
Step 1: Wipe ceiling fans.
Step 2: Vacuum each corner.
Step 3: Clean the faucets.
Step 4: Clean cabinets and drawers.
Step 5: Sanitise trash cans.
Step 6: Wipe down electronics.
Step 7: Clean out your fridge and freezer.
Step 8: Deep clean the closets.
Step 9: Scrub the stove.
Step 10: Replace the toilet seat.
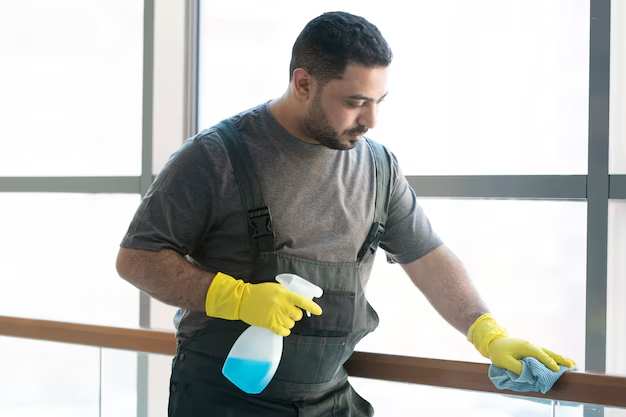
Step 11: Clean windows.
Step 12: Eliminate foul odours.